Downloadable Resource
Blog
Webinar Recording
Success Story
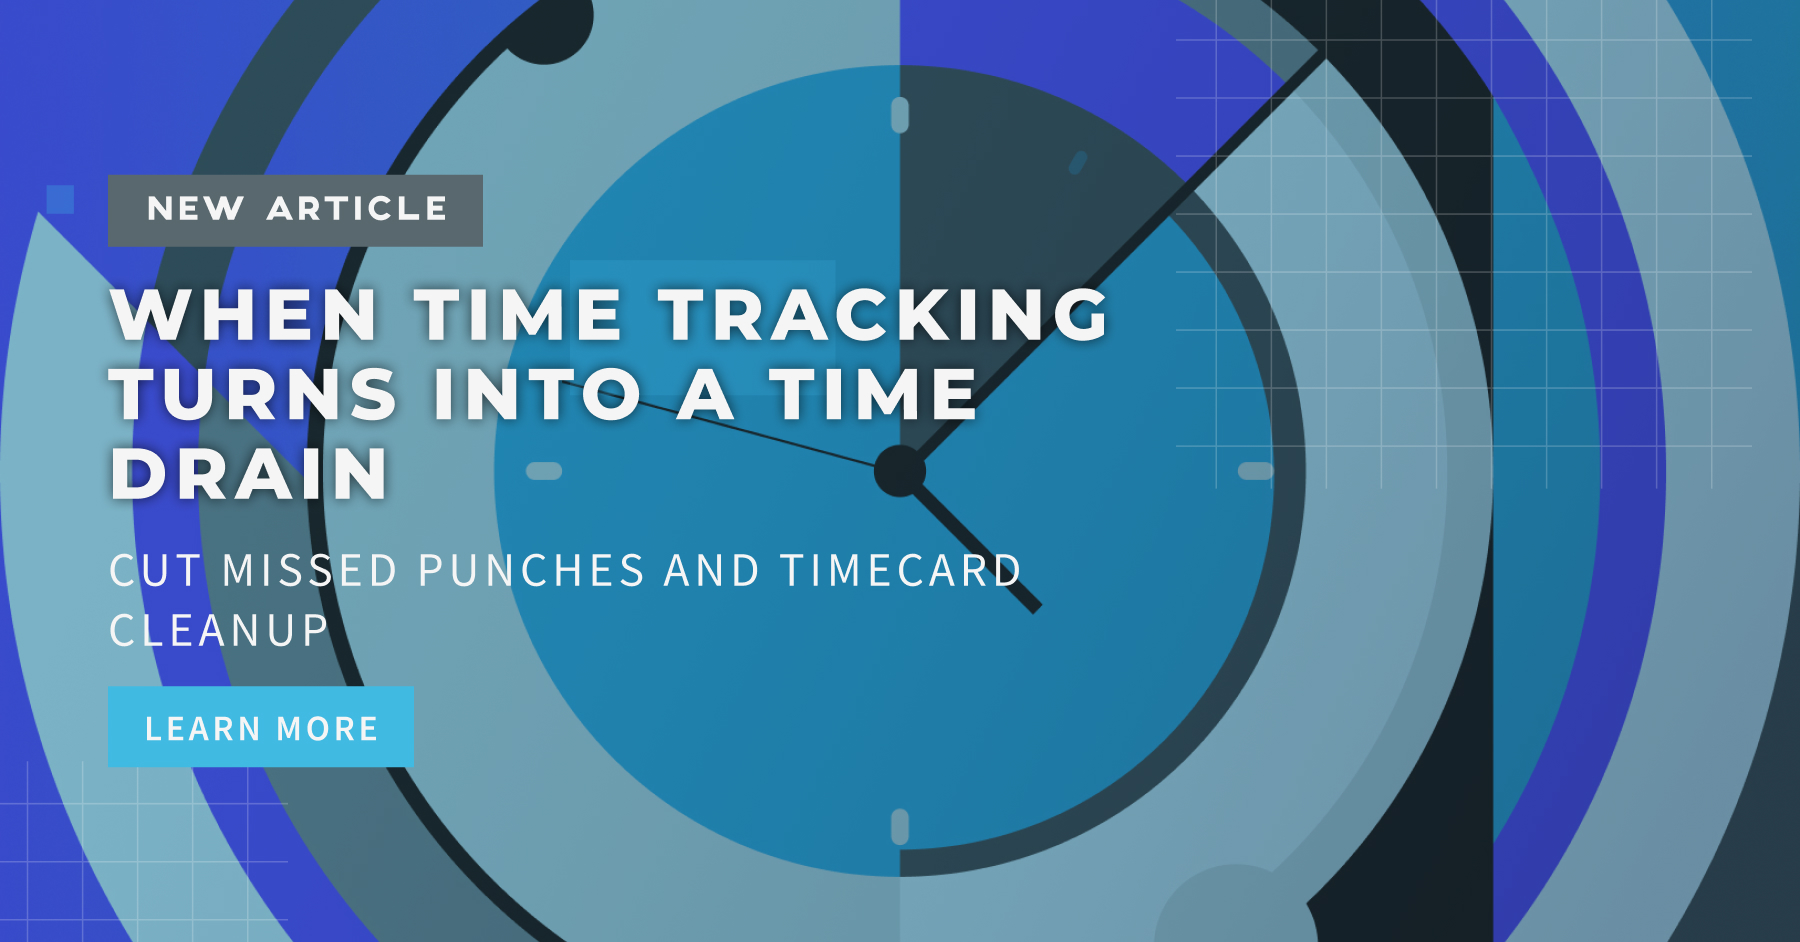
Article
Technical Article
Video Insight
Trade Show
Webinar
Tutorial
Video Demo

Managing Payables with Acumatica
Join us on
April 1, 2020

Download Now
Event Details
Price:
$
USD
Location:
Virtual
Address:
Managing accounts payable efficiently and effectively is a key component of any business, as it affects your company’s bottom line as well as its cash flow. Acumatica eases the stress of managing payables by creating an easy process to follow. Follow these steps to complete a payable cycle:
- Enter payables (“Bills and Adjustments”) into Acumatica:

- Click on “Payables.”
- Click on “New bill.”
- In “Type” box, select type of item you are entering by using the dropdown menu. Options include: Bill, Credit adjustment, Debit adjustment, Prepayment.
- Hit Tab or Enter to move to the “Date” field, and enter the date you want the bill to post to. For example, if your mortgage bill is dated February 25, but applies to your March payment, use “3/1/20” as the date in order to post the cost to the correct month.
- The “Post Period Date” will automatically generate according to the date entered in the step above.
- In “Vendor Ref” box, type in the vendor’s invoice number.
- In “Description” box, enter any relevant details about the invoice for your future reference. For example, for a mortgage bill, you might type in “Mortgage payment – March 2020.”
- In “Vendor”box, enter the appropriate vendor. There are a couple of ways to do so. You can type vendor name and choose correct vendor from the list that appears. You can also add a new vendor into the system from this screen by clicking on the pencil to the right of the vendor field.
- Enter “Location.” You can type in this box, or use the search icon.
- Enter “Terms.”
- The “Due Date”box will automatically populate according to the terms chosen in the previous step. If necessary, you can update or change the date that appears.
- Enter “Cash Discount Date” if applicable.
- Enter “Discount Total” if applicable
- In the “Amount” box, enter the total amount of the invoice (bill).
- Under the “Document Details” tab in the middle of the screen, use the “+” button to add lines. Choose the correct “Branch” (if more than one is available). Enter the “Inventory ID” (if applicable. Enter the “Quantity.” Enter the “Unit of measure.” Enter the “Transaction Description.” Enter the “Unit Cost.” The “Ext. Cost” box will automatically calculate based on quantity and unit cost; edit if necessary. In the “Account”box, enter the account code for cost. Enter “Sub-account”details if applicable.
- All other fields are dependent on your company, and only need to be entered if necessary to your company’s requirements.
- Once all required fields/lines are entered, attach any necessary documentation. Then, in the “Status” area in the top left portion of the screen, click the checkmark box next to “Hold,” so that the bill is in balanced mode.
Reviewing Balanced Payables
Balanced payables can be reviewed and released (posted) separately or all at once, depending on your preference. If reviewing and releasing separately, simply click on “Release” at the top of the page, and the bill’s status will change to “Open.” If releasing/posting all at once, follow these steps:
- On the Payables main screen, under “Processes,” click “Release AP Documents.”
- Click the box directly to the left of “Bill” ready for release/post.
- Click “Release” at the top of the screen.
- Click OK once the process is complete
- You can also click on “Release All” at the top (without using checkmarks) to release the entire list of payables.
- When ready to process/pay bills, complete the following steps:
- On the Payables main screen, under “Processes,” click “Approve Bills for Payment.”
- Choose your preferences at the top of the page regarding pay date within ____ days, due date within ____ days, or cash discount expiration dates.
- Click on the check box next to the Bill to approve bills for payment.
- Click on the “Save” icon (disk icon) at the top of the screen.
Processing Vendor Payments in Acumatica
To process payments, follow these steps:
- On the Payables main screen, under “Processes,” click on “Prepare Payments.”
- Choose “Payment Method.”
- Choose “Cash Account.”
- Verify “Payment Date” and “Post Period.”
- Click on the check box to the left of the Bill you would like to pay.
- Click “Process” at the top (Click “Process All” to pay all bills without using checkmarks).
- A new window will appear showing the next check number available, along with the payments ready to be created.
- Click “Print.” A new window will appear with PDF copies of the payments. Print the copies. Exit the window when complete.
- Click “Process” to post the payments to General Ledger.
A Quick Trick
Here is a tip I have found useful when processing payables.
Use the copy and paste function as often as possible. This will cut down on errors as well as save data entry time. For example, if AT&T provides your cell service, search for last month’s payable for AT&T.
- Under “Bills and Adjustments,” use the search feature to find the bill.
- Click on the bill to look at it.
- Click on the copy button at the top.
- Click the “+” icon.
- Click on the “Paste” button.
- Update necessary information.
- Save, balance, and release (if necessary).
Recurring Transactions
Use “Generate Recurring Transactions” so that you never forget a bill.
For example: Does the credit card company charge you the same amount automatically each month? Here’s how to generate a recurring transaction.

- Once you have created the payable, click on “Actions.”
- Click on “Add to Schedule.”
- Update all necessary information, and choose the date you would like the payable to run each month.
- Set a reminder to run the payable (or set it up to auto run each month).
Let Acumatica do the hard work for you!